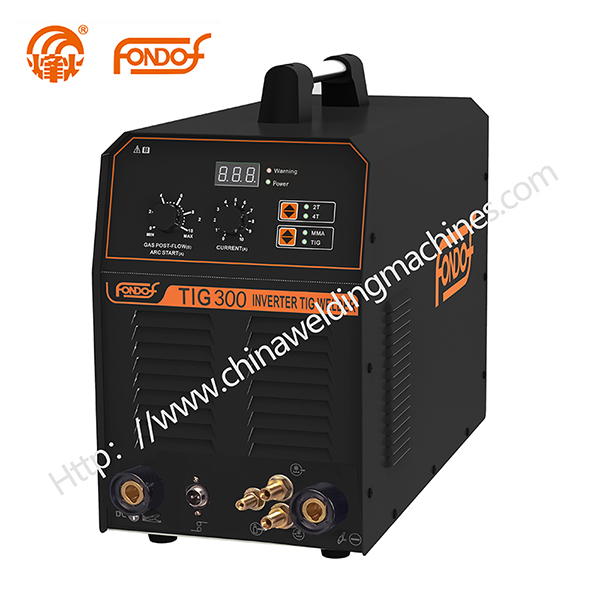
How to TJG Weld?
 Dec. 09, 2022
Now that we understand the basics of TIG welding, but how do you perform TIG welding?
Step 1.
First, you will need to gather everything you need and set up. Decide whether to use filler material or not. If so, make sure it is on hand and clean. You also need to thoroughly clean the metals you plan to add. If they are not completely clean, the welds may not bond well.
Step 2.
Now that your materials are ready, it's time to prepare the welding machine. You will need to determine the settings to use, which will vary depending on the type of metal you are welding, thickness, electrode size, etc. To perform this step, you will need to prepare the tungsten electrode. To do this, use a grinder or polisher to sharpen them, which will also provide precise points for accurate welding.
Step 3.
Insert the electrode into its collet. Unscrew the back of the electrode holder, insert the rod and replace the back. The tip of the electrode should be about 1/4" from the protective sleeve, but not too much. If you have already prepared the electrode, skip this step.
Step 4.
Insert the flashlight and make sure the foot pedal is in a position where you can comfortably reach it while working. Turn on the machine and prepare to weld.
Step 5.
Take safety precautions. Use thick leather welding gloves, welding helmets and shoes that do not show your toes. To avoid sunburn, wear a long-sleeved shirt or jacket, or welding jacket.
Step 6.
Protect your work material. You can perform this operation on a standard workbench using a fixture, but a welding table will make it easier.
Step 7.
Once your material is secure, create some small spot welds to hold the parts together. To do this, hold the torch at a comfortable angle about ⅛ inch from the metal. Depress the foot pedal and gently touch the torch to the seam between the metal parts. If you are using a filler bar, touch the tip of the filler bar to the same point. The arc will only take a fraction of a second. When finished, remove the tip from the metal and perform the next spot weld.
Step 8.
Now that your parts have been joined together by spot welding, it's time to start making your product. You will follow the same process as you did to create your positional welds. This time, however, you will create each weld adjacent to the previous weld so that they partially laminate on top of each other. As you continue to make small beads side by side at each point, your weld will begin to take shape.
Conclusion
Once you know how to TIG weld, you can repair or build anything that uses metal. Bicycle frames, car panels, exhausts, metal sculptures, and more can be built, improved, or repaired using a TIG welder. But remember, TIG welding is an art form in itself. Don't expect to become a master the first time you connect the machine. It's a process, and you will continue to learn and improve each time you undertake a new welding project.
If you want to know more information about TJG welding machines, please contact us. We will provide professional answers.


